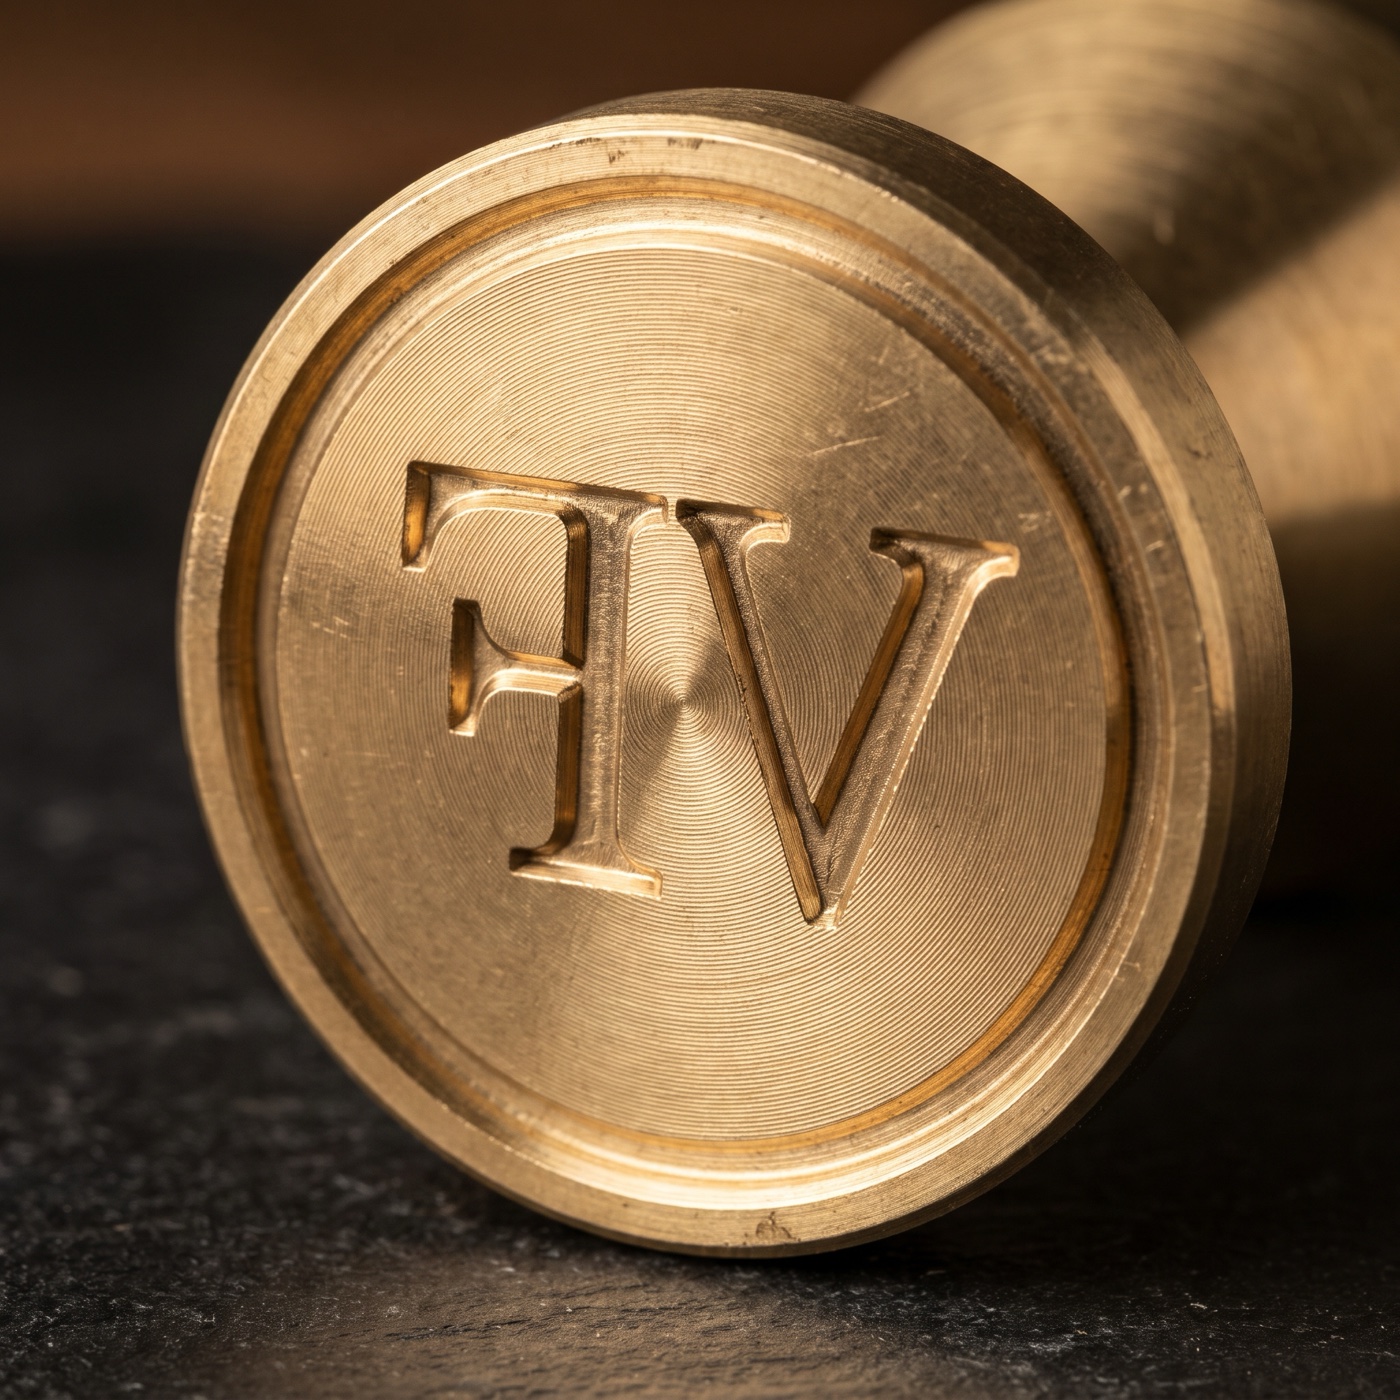
Quick Answer and Engineering Benchmarks
- Depth: cut CNC relief to ≥ 2.8 mm. Shallow 1.0–1.5 mm laser-etched or chemically etched dies can bottom out as penetration approaches relief depth.
- Bevel: taper the sidewalls 10–15° per side so compressed fibres release cleanly. Vertical 90° walls grip the leather and can tear the edge.
- Back-plate: target 8–10 mm of solid brass behind the relief floor to resist flex under a 1-ton or 2-ton arbor press; confirm support and load for the finished head.
- Fitment: an M8 threaded socket needs a matching rod or press adapter. A flat-back arbor block seats against a flat ram or load-spreading plate.
| Spec | Recommended (our target) | Common shortfall | What goes wrong |
|---|---|---|---|
| Relief depth | ≥ 2.8 mm, CNC cut | 1.0–1.5 mm, laser-etched or etched dies | Floor reaches the leather and prints a halo; fine detail fills in |
| Sidewall draft | 10–15° taper per side | 90° vertical walls | Compressed fibres grip the wall; edges tear or fuzz on release |
| Back-plate | 8–10 mm solid brass behind the floor | Thin or hollowed plate | Plate flexes under 1-ton or 2-ton press load; uneven impression |
| Mounting | M8 threaded socket (mallet or press), or flat-back (press only) | Off-centre or loose-fitting mount | Tilted strike; one edge driven deeper than the other |
These are engineering design targets, not measured production results or a press-load rating. Confirm the drawing, supported face area and tooling fitment before use; documented sample measurements will be published before orders open.
Relief depth: ≥ 2.8 mm versus 1.0–1.5 mm
Relief is the height of the raised mark above the recessed background floor. When you press a stamp into cased 4–10 oz (1.6–4.0 mm) veg-tan, the mark sinks a millimetre or more and the leather bulges up around it. If the relief is only 1.0–1.5 mm, the floor meets that bulge and prints its own dull outline.
For this comparison, shallow laser-etched or chemically etched dies have 1.0–1.5 mm relief; the process label alone does not establish depth or wall geometry. Ask for a dimensioned section drawing. Our CNC design target is at least 2.8 mm. That leaves roughly 1.6 mm of clearance if the mark sinks about 1.2 mm; real penetration varies with leather, casing and force.
| Relief depth | Mark sinks 1.0 mm | Mark sinks 1.5 mm | Result |
|---|---|---|---|
| 1.0 mm (shallow etched) | 0.0 mm | −0.5 mm (floor presses in) | No clearance at 1.0 mm penetration |
| 1.5 mm (shallow etched) | 0.5 mm | 0.0 mm (floor just touches) | Halo once the mark sinks about 1.5 mm |
| 2.8 mm (CNC target) | 1.8 mm | 1.3 mm | Positive clearance in these examples |
For the full halo diagnosis, including sharp shoulders and over-wet leather, see how to prevent a halo around a leather stamp mark.
Bevel draft angle: 10–15° taper, not 90° walls
Draft is the slope of each raised wall, measured from vertical. Under a press, vegetable-tanned fibres are squeezed into the leather and then spring back against the wall as the stamp lifts. On a perfectly vertical wall (90° to the stamp face) the fibres grip and drag, which can fuzz or tear the rim of the mark. A taper of 10–15° per side, measured from vertical, provides release clearance as the stamp lifts, helping compressed fibres separate without tearing. The raised stroke widens toward the brass block, away from its leather-contact face.
Draft has a cost, and it is worth knowing. A tapered wall is wider at its root than at the top face, so a gap between two strokes narrows toward the floor. Across 2.8 mm of relief, the root widens by this much per side:
| Draft per side | Root widening, each side | Root width increase / gap reduction |
|---|---|---|
| 0° (vertical) | 0.00 mm | 0.00 mm |
| 10° | 0.49 mm | 0.99 mm |
| 12.5° | 0.62 mm | 1.24 mm |
| 15° | 0.75 mm | 1.50 mm |
Draft and artwork must be decided together. A 0.80 mm gap at the contact face cannot continue through the full 2.8 mm relief with 10–15° draft on both walls: the theoretical gap reduction is about 0.99–1.50 mm. Ask the machinist to resolve this with wider spacing, a revised local relief or draft, or simpler artwork. Review the section drawing as well as the top-face proof. For recommended stroke widths and gaps, see the minimum line width guide.
Back-plate thickness: 8–10 mm solid brass
The back-plate is the solid brass between the relief floor and the back of the head, where the mallet rod or press ram makes contact. A press concentrates its load there. If the plate is thin, it can flex or dish, so the centre of the mark takes more load than the edges and the impression comes out uneven.
- 8–10 mm solid brass behind the floor is our target for a head that resists flexing under a 1-ton or 2-ton arbor press.
- Solid block, not a hollowed or thin-stamped plate. Adequate stiffness and broad, flat support help distribute load across the mark.
- Large faces: for marks over about 35 mm, add a hardened steel plate between the head and the ram. See the arbor press setup guide.
Measure back-plate thickness from the relief floor to the rear face, excluding the raised design. An 8–10 mm remaining back-plate plus 2.8 mm relief gives 10.8–12.8 mm overall thickness. An 8–10 mm overall blank leaves a thinner back-plate after machining. Resistance to flex also depends on brass grade, head span, ram contact area and support; the press tonnage label alone does not prove the head can take its full rated load.
M8 threaded socket vs flat-back arbor block
Both mounting styles sit on the same 8–10 mm solid back-plate. The difference is how the head meets the tool.
| Fitment check | M8 threaded socket | Flat-back arbor block |
|---|---|---|
| Works with | Mallet rod or arbor press | Arbor press only |
| How it mounts | Threads onto a matching M8 rod or press adapter; confirm pitch, engagement and shoulder seating | Sits flat against the ram or a steel plate; no thread |
| Load path | Through the seated bearing shoulder into the back-plate; the thread retains and aligns the head | Straight across the full back face |
| Best for | Switching between mallet and press, or swapping heads on one handle | Dedicated press work on large faces |
| Fit check | Matching pitch, adequate engagement, no bottoming out, head square and secure | Back face clean and flat, centred under the ram |
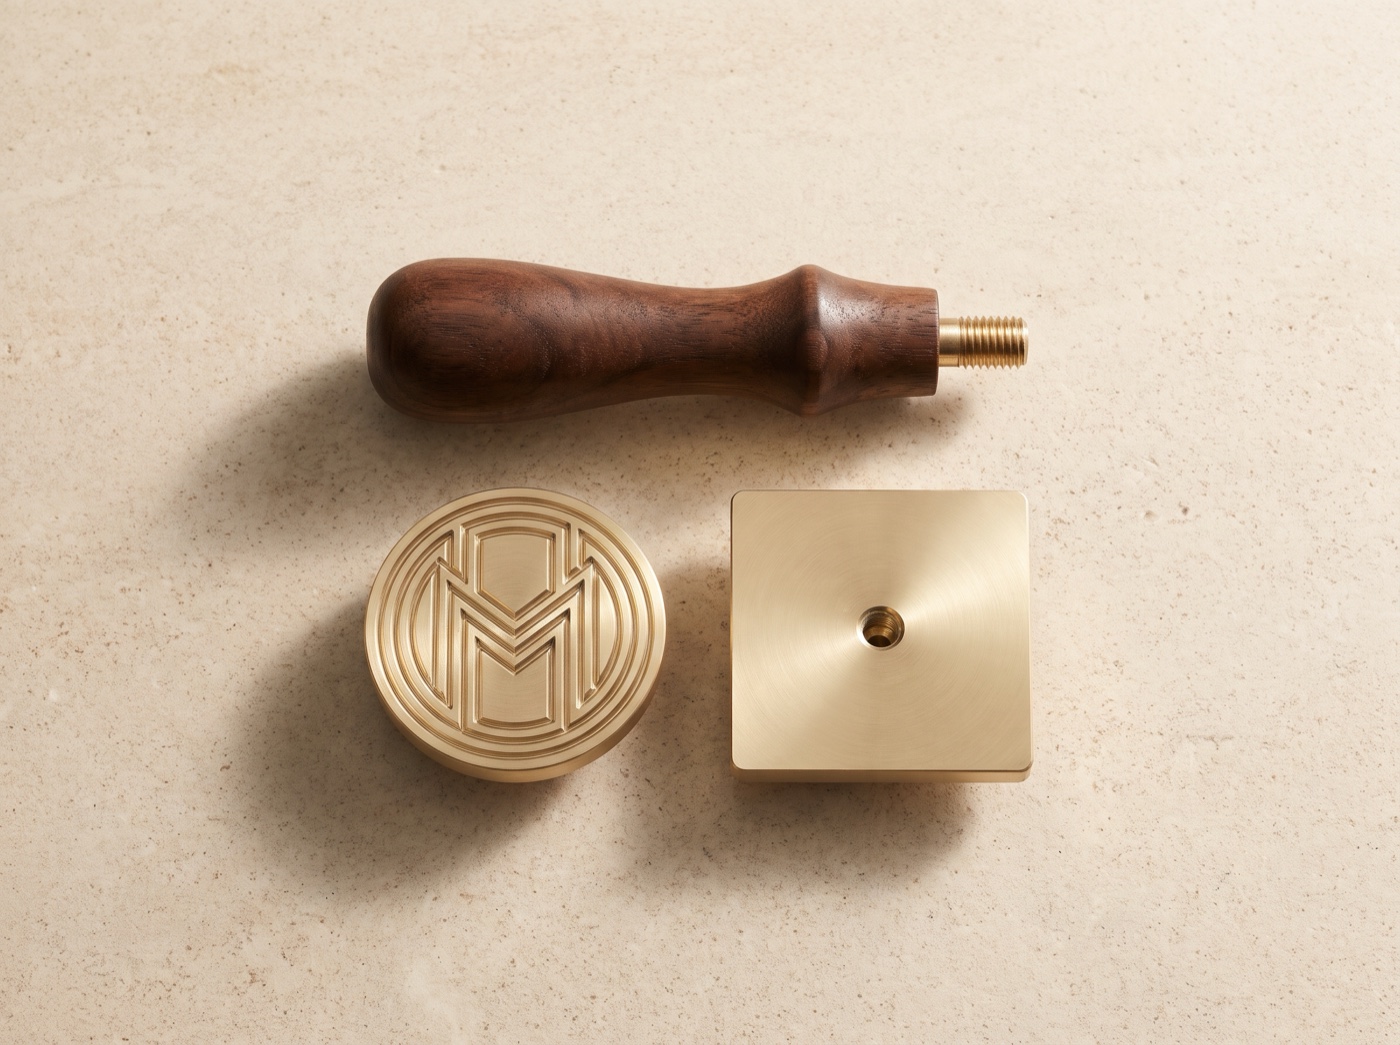
Choose M8 when you need interchangeable heads and have a compatible rod or press adapter. Choose a flat-back arbor block for dedicated press work with broad rear-face support. M8 specifies thread diameter, not universal press compatibility; confirm thread pitch, usable engagement, blind-hole depth and ram clearance. Our custom deep-engraved leather stamp uses an M8-tapped head for this reason.
Spec checklist, before any brass is cut
- Relief depth: confirm at least 2.8 mm, and ask how the depth is produced (CNC milled, not shallow etched).
- Draft: confirm 10–15° per side on raised walls, rather than 90° vertical walls.
- Gaps at the root: review the proof at final size and check the space between strokes at the floor.
- Back-plate: confirm 8–10 mm solid brass remaining behind the floor, excluding relief; review support and intended load.
- Mounting: choose a matching M8 rod or press adapter, checking pitch and engagement, or a flat-back arbor block with broad rear support.
- Test: case an offcut of the same hide, strike once squarely or press steadily, then check for a crisp mark with no torn edges and no ring.
The free studio previews your mark on leather at the finished size and highlights thin strokes and narrow gaps before any metal is machined. No account; your file stays in your browser.
Quick questions, straight answers
How deep should a custom brass leather stamp be engraved?
Our CNC target is at least 2.8 mm of relief. Shallow 1.0–1.5 mm laser-etched or chemically etched dies leave little clearance once the mark sinks into 4–10 oz veg-tan, so the background floor can reach the leather and print a halo.
What bevel or draft angle should the sidewalls have?
A taper of 10–15 degrees per side from vertical is our design target. The stroke widens toward the brass block, helping compressed vegetable-tanned fibres release as the stamp lifts. Vertical walls, 90 degrees to the face, can grip fibres and tear or fuzz the edge.
How thick should the back-plate of a brass leather stamp be?
Our target is 8–10 mm of solid brass behind the relief floor to resist flexing in 1-ton or 2-ton arbor press setups. This excludes the raised relief. It is a design target, not a full-tonnage load rating; actual stiffness depends on head span, alloy, contact area and support.
Should I choose an M8 threaded socket or a flat-back head?
An M8 threaded socket suits a matching mallet rod or compatible press adapter; confirm pitch, engagement and shoulder seating. A flat-back arbor block is for press use with broad contact against a flat ram or load-spreading plate. M8 alone does not guarantee fitment to every arbor press.
Does a bevel make fine lines thicker?
Yes, at the root. A draft of 10–15 degrees widens each raised stroke by roughly 0.5–0.75 mm per side across 2.8 mm of relief, so the gap between strokes narrows toward the floor. Review gaps at the root in the proof.
See the mark before it is cut.
Preview your maker’s mark on leather at the finished size, then see the custom deep-engraved leather stamp, cut to a ≥ 2.8 mm relief target on an M8-tapped solid brass head.