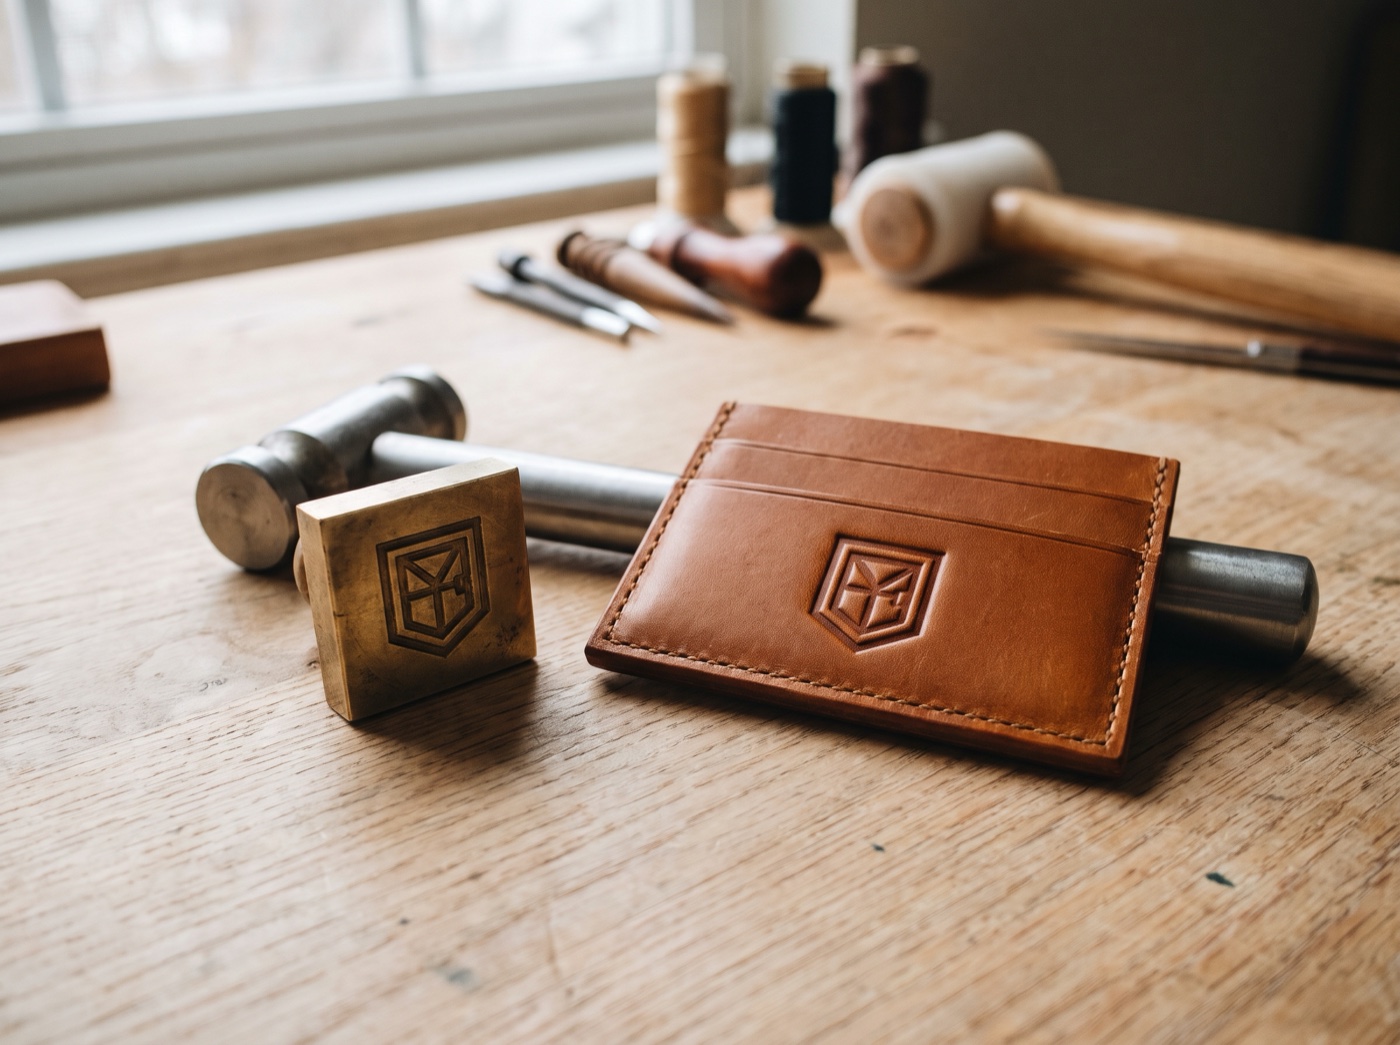
The short answer
- The halo is physics, not bad luck: it is the stamp’s background pressing the leather around your mark.
- Cause 1. Background relief under 1.5 mm bottoms out against the leather. Use ≥ 2.8 mm CNC relief.
- Cause 2. Sharp 90° outer shoulders cut a hard rectangle. Ask for an eased or beveled outer edge.
- Cause 3. Over-wet 4–10 oz veg-tan plus too much mallet force squeezes a dark bruise around the mark. Case properly and strike once.
- Also check stroke width: about 0.50 mm lines and 0.80 mm gaps at final size are a sensible starting screen.
Why the box appears: three real causes
A leather stamp makes its mark by compressing the surface under the raised design. Where the leather is pushed down, it darkens and burnishes; where nothing touches it, it stays natural. A halo, the faint or heavy rectangle around the mark, means something other than the raised design touched or crushed the leather.
There are three real causes. They often combine, so check all three before blaming the leather.
| # | Cause | What it looks like | Fix |
|---|---|---|---|
| 1 | Shallow background clearance (relief under 1.5 mm) bottoms out | A dull, evenly pressed rectangle or circle matching the stamp outline | Cut relief to ≥ 2.8 mm so the background floor stays clear of the leather |
| 2 | Sharp, un-beveled 90° outer shoulders | A crisp, cut-looking line tracing the outside edge of the mark | Ease or bevel the outer shoulder in the proof; strike squarely, not tilted |
| 3 | Over-wet veg-tan casing and excessive mallet force | A dark, soft, bruised halo that spreads and may stain | Case to the right moisture, let it settle, and strike once with a poly or rawhide maul |
Shallow background clearance: when the stamp bottoms out
On 4–10 oz (1.6–4.0 mm) veg-tan, the raised mark often sinks a millimetre or more. If the relief is shallow, the recessed background reaches the surface too, and it presses its own dull outline. The arithmetic is simple: clearance is relief minus penetration.
| Relief depth | Mark sinks 1.0 mm | Mark sinks 1.5 mm | Result |
|---|---|---|---|
| 1.0 mm | 0.0 mm | −0.5 mm (floor presses in) | Halo on almost any leather |
| 1.5 mm | 0.5 mm | 0.0 mm (floor just touches) | Halo as soon as the mark sinks about 1.5 mm |
| 2.8 mm | 1.8 mm | 1.3 mm | Background stays clear in typical use |
That is why our leather stamps are specified at ≥ 2.8 mm of relief: it is a design target to keep the background clear across the 4–10 oz range. Documented depth measurements from production samples will be published before orders open.
Sharp 90° outer shoulders: the cut-line effect
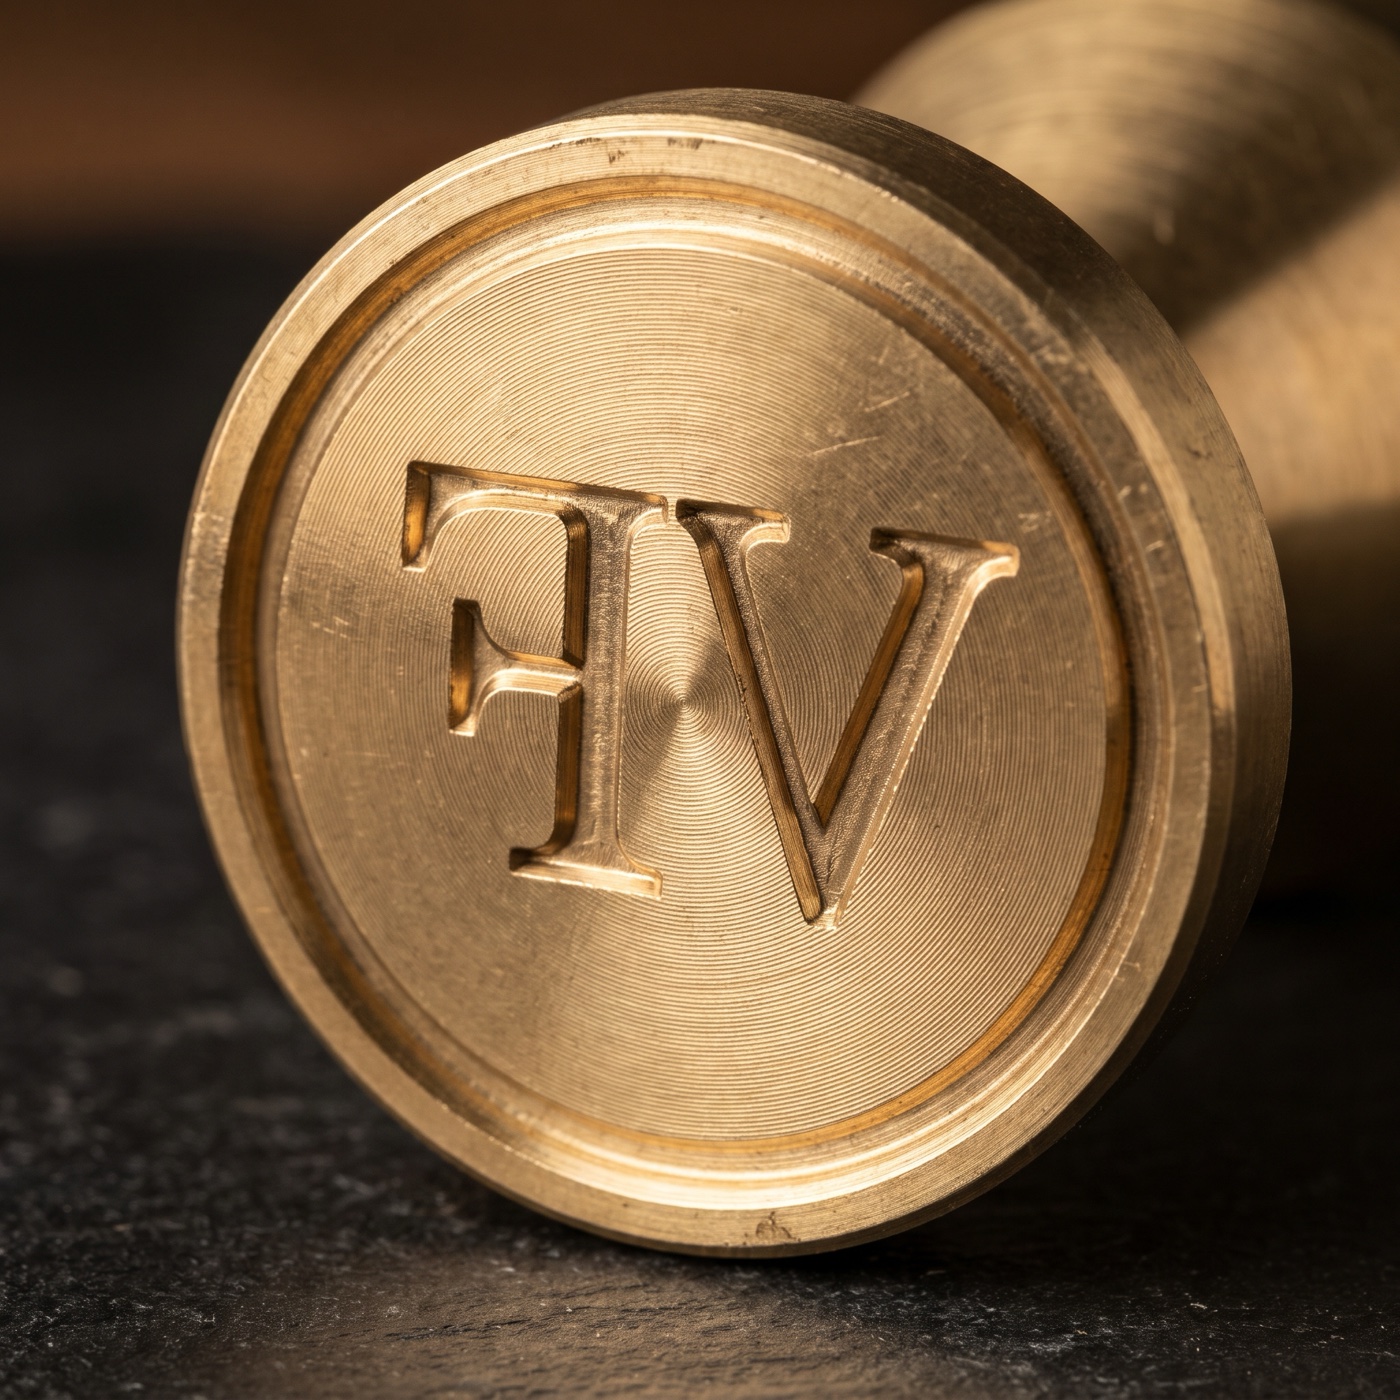
Where the raised mark ends in a perfectly square outer edge, the leather has to fold over a hard corner. On a fairly dry or firm surface, the corner can crease or shear the fibres and leave a fine, crisp line around the mark, which can read as a box even when the background is clear.
- Ask for eased edges. A slight bevel or draft on the outer shoulder lets the leather flow instead of folding.
- Strike squarely. A tilted stamp drives one edge deeper and magnifies the line on that side.
- Check the proof. Review the outline at final size before the stamp is cut.
Over-wet leather and too much force: the casing check
Vegetable-tanned leather from about 4 to 10 oz is cased (dampened) before stamping so the fibres compress and hold. Too little moisture and the mark is faint; too much moisture and the leather turns soft and glossy, and the stamp squeezes water outward, leaving a dark bruise around the mark.
| Check | Ready | Too wet |
|---|---|---|
| Colour | Evenly darkened, lightening back toward natural | Dark, shiny and uneven; water beads on the surface |
| Feel | Cool, firm, slightly pliable | Spongy, cold and soft; the surface moves under a thumb |
| Fingernail test | A light press holds a crisp mark | A light press smears or leaves a deep gouge |
| Stamp test | Clean mark, no ring | Dark ring or tide-line around the mark |
Then control force. One firm, square strike with a poly or rawhide maul is usually enough; repeated hits shadow the mark and widen any halo. For large faces, an arbor press gives a more even impression: see our arbor press setup guide.
The minimum stroke check, so fine lines don’t read as a halo
Thin hairlines can fill in and look like a soft smudge, which people often mistake for a halo. As a starting screen, keep strokes at about 0.50 mm or wider and gaps at about 0.80 mm or wider at the finished size. These are screening guidelines, not universal rules, and more relief depth will not rescue a line that is too fine.
The free studio previews your mark on leather at the finished size and highlights thin strokes and narrow gaps before any metal is machined. No account; your file stays in your browser.
A note on the alloy
Lead-free here is a metallurgical statement, not a certification: our target alloy is a bismuth lead-free eco-brass, and an optical-spectrometer reading of a supplier alloy sample came in at about 0.0022% lead (≈ 22 ppm) against the 0.25% (2,500 ppm) NSF/ANSI 372 drinking-water plumbing threshold, used here only as a reference benchmark. That is a sample reading, not a batch report: every production batch is spectrometer-checked and its batch sheet published before dispatch.
Quick questions, straight answers
Why does my leather stamp leave a square border around the mark?
Usually one or more of three causes: background relief under about 1.5 mm that bottoms out against the leather, sharp un-beveled 90 degree outer shoulders, or over-wet veg-tan with too much mallet force that squeezes a dark bruise around the mark.
How deep should a leather stamp’s relief be?
Our CNC target is at least 2.8 mm of relief. On 4–10 oz veg-tan the mark often sinks a millimetre or more, so shallower relief can let the background reach the leather surface.
How wet should veg-tan be before stamping?
Case it evenly until it darkens, then let it settle until it lightens back toward its natural colour and feels cool and firm, not spongy. Test on an offcut of the same hide before stamping the real piece.
Will an arbor press stop the halo?
An arbor press gives a more even, repeatable impression than a mallet, especially on large faces, but it will not fix shallow relief or over-wet leather. Fix the geometry and casing first.
See the mark before it is cut.
Preview your maker’s mark on leather at the finished size and check thin strokes and gaps before any brass is machined. Then see the custom deep-engraved leather stamp, cut to a ≥ 2.8 mm relief target.