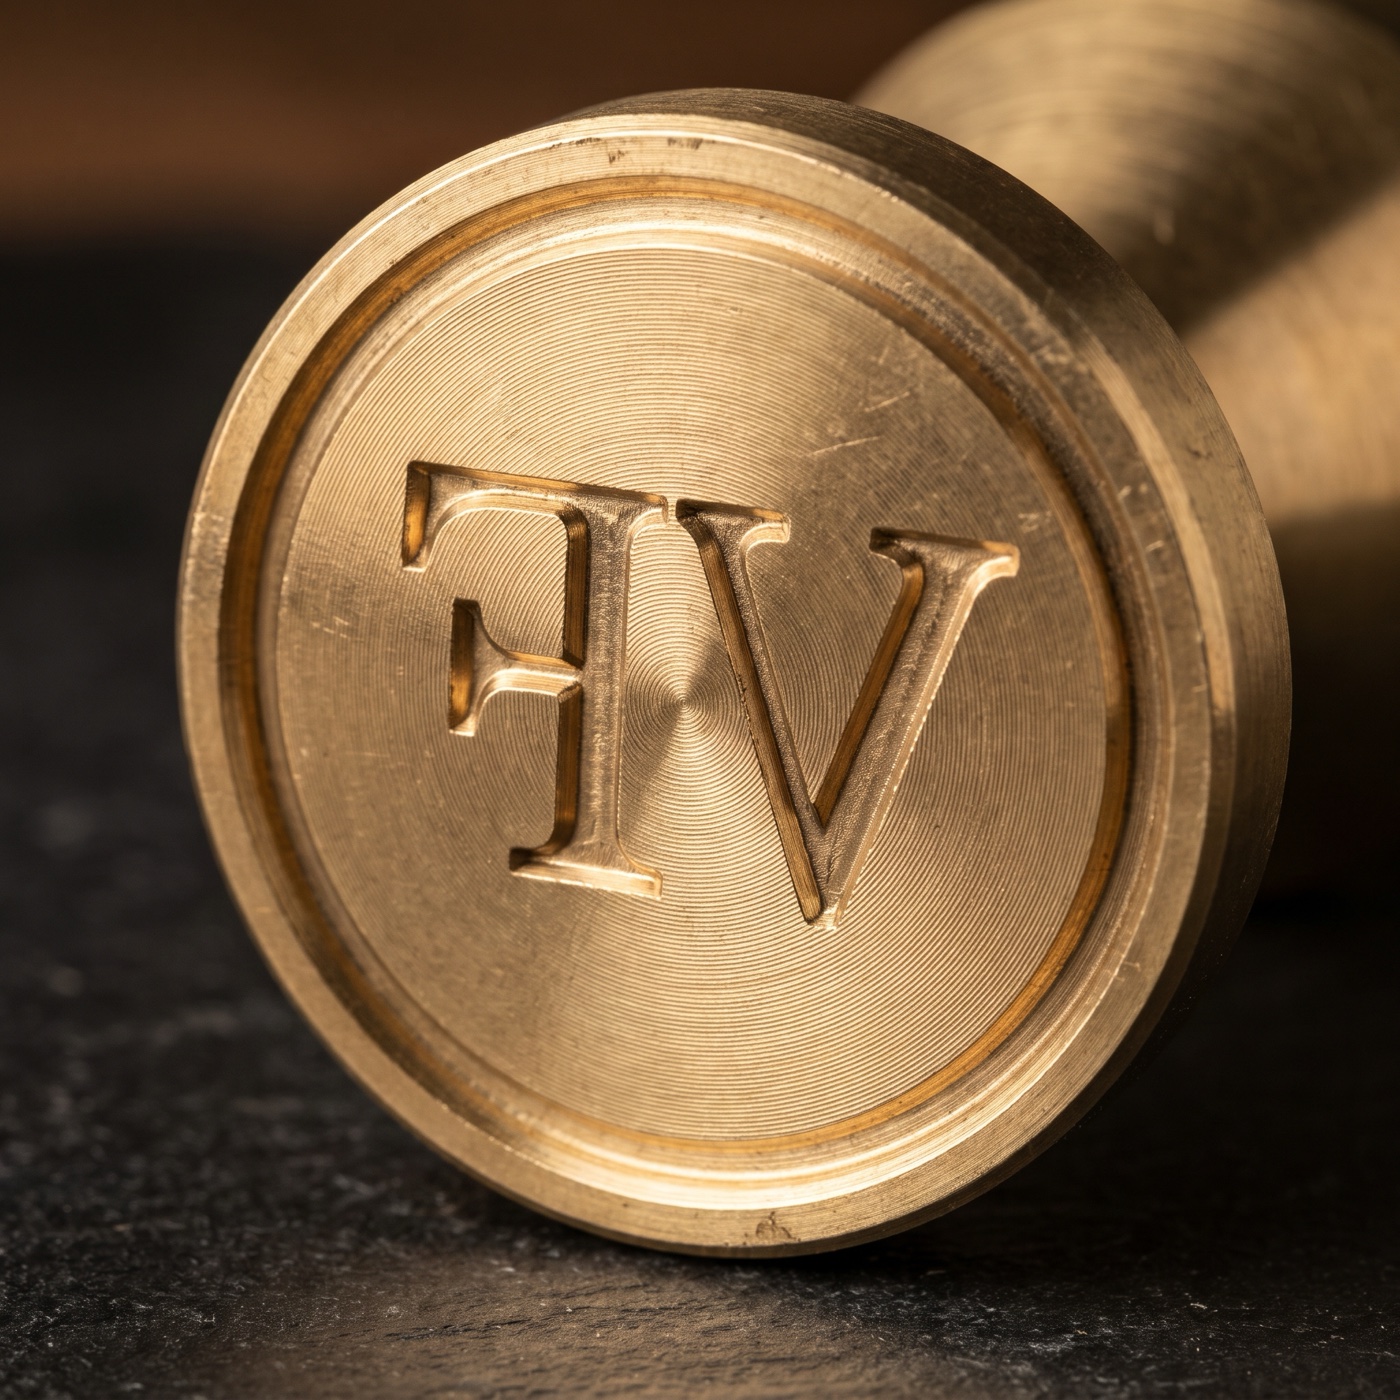
Quick Answer and Engineering Benchmarks
- Raised strokes: 0.40 mm is the hard floor and 0.50 mm or more is the target at final size.
- Negative-space gaps: keep 0.65 mm as the floor and 0.80 mm or more as the target, so leather fibers rebound cleanly instead of tearing.
- Wallets and cardholders: 25–38 mm artwork. Totes, bags and belts: 40–63 mm artwork.
- Unit conversion: 0.50 mm is about 1.42 pt and 0.80 mm is about 2.27 pt.
- Export plain SVG: outlined text, expanded strokes, merged shapes, final-size artboard in millimeters.
| Parameter | Hard floor | Target | In points (target) |
|---|---|---|---|
| Raised stroke width | 0.40 mm | ≥ 0.50 mm | ≈ 1.42 pt |
| Negative-space gap | 0.65 mm | ≥ 0.80 mm | ≈ 2.27 pt |
| Wallet / cardholder mark | 25 mm wide | 25–38 mm | — |
| Tote / bag / belt mark | 40 mm wide | 40–63 mm | — |
| Relief depth | — | ≥ 2.8 mm CNC | — |
Limits are screening guidelines at the finished size, not universal pass-fail rules. The relief depth is a CNC design target; documented measurements will be published before orders open.
The four numbers to check
Open your artwork at the size it will be made, then measure four things.
- Thinnest raised stroke: at least 0.40 mm absolute, 0.50 mm or more as the target.
- Narrowest gap between strokes: at least 0.65 mm absolute, 0.80 mm or more as the target.
- Smallest island (a dot, the dot of an i): treat it as a stroke, at least 0.50 mm across.
- Overall width: within the size range for the product you are making.
A brass tooth thinner than 0.40 mm is also fragile in the die, so it can bend or chip under mallet or press impact.
Why the gap matters more than the line
Leather is a mat of fibers. The raised design compresses them; the recessed gap between raised strokes leaves them standing. When that gap is narrower than about 0.65 mm, the leather between two raised strokes is squeezed from both sides: it either tears along the edges or fills in so the two lines merge. At 0.80 mm or more the fibers rebound cleanly and the gap stays readable.
Thickening lines to meet the stroke minimum narrows the gaps between them. Check both numbers every time you change the weight.
Gaps and relief depth work together to keep the background off the leather. See how to prevent a halo around your mark.
Sizing: wallets vs totes and belts
| Product | Artwork width | Notes |
|---|---|---|
| Wallets, cardholders, passport covers | 25–38 mm | The smallest proposed face is 1.5 inch (38 mm); simplify the mark for small sizes |
| Totes, bags, belts, straps | 40–63 mm | 2-inch (50 mm) faces are the common middle; 2.5-inch (63 mm) needs an arbor press |
Smaller marks fit less detail: at 25 mm wide, a 0.50 mm stroke is already 2% of the mark. If your logo includes a tagline, drop it for wallets.
The scaling trap: measure after you shrink
Final stroke = source stroke × (final width ÷ source width). A logo drawn 100 mm wide with 1.2 mm lines becomes 0.36 mm lines at 30 mm wide, which is under the 0.40 mm floor.
The fix is to thicken, simplify or enlarge. Never rely on the stamp to rescue a line that is too fine.
SVG export checklist
- Set the artboard to the final width in millimeters.
- Convert all text to outlines.
- Expand every stroke to a filled shape.
- Unite overlapping shapes into a single compound path.
- Delete stray points, hairlines and specks.
- Measure the thinnest stroke and the narrowest gap against the table above.
- Use one solid color on a transparent background: no gradients, effects, masks or embedded raster images.
- Upload right-reading artwork; the studio shows the mirror-image cut for you.
Quick questions, straight answers
What is the minimum line thickness for a brass leather stamp?
Keep raised strokes at 0.50 mm or more at final size. The hard floor is 0.40 mm. Anything thinner can fail or damage the die.
What gap should I leave between lines?
At least 0.80 mm as a target, with 0.65 mm as the absolute floor, so leather fibers rebound cleanly instead of tearing or filling in.
What size should my maker’s mark be?
25–38 mm wide for wallets and cardholders, and 40–63 mm wide for totes, bags and belts.
How do I convert point sizes to millimeters?
One point is about 0.353 mm, so 0.50 mm is about 1.42 pt and 0.80 mm is about 2.27 pt.
Measure the lines before they’re cut.
Upload your SVG and see strokes and gaps at the size it will be made, then see the custom brass leather stamp cut to a ≥ 2.8 mm relief target.